Professional car detailing can cost anywhere from $100 to $500, but with some time, effort, and the right supplies, you can achieve impressive results at home. Beyond saving money, detailing your own vehicle allows you to be thorough in ways commercial services might overlook and can be surprisingly satisfying. This comprehensive guide will walk you through the process of transforming your daily driver into a showroom-quality vehicle.
Essential Supplies
Before getting started, gather these detailing essentials:
For Exterior Cleaning:
- Two buckets (one for soap, one for rinsing)
- Grit guards for each bucket
- Car washing soap (NOT dish soap)
- Microfiber wash mitt
- Wheel cleaning brush
- Tire cleaner
- Clay bar kit
- Car wax or sealant
- Several microfiber towels
- Glass cleaner (ammonia-free)
For Interior Cleaning:
- Vacuum with attachments
- Interior cleaner appropriate for your surfaces
- Soft-bristled detailing brushes
- Glass cleaner
- Leather conditioner (if applicable)
- Air compressor or canned air
- Fabric protector (optional)
Exterior Detailing Process
Step 1: Preparation and Pre-Rinse
- Choose a shaded area to prevent soap from drying too quickly
- Thoroughly rinse the entire vehicle to remove loose dirt and debris
- Pay special attention to wheel wells and lower panels where road grime accumulates
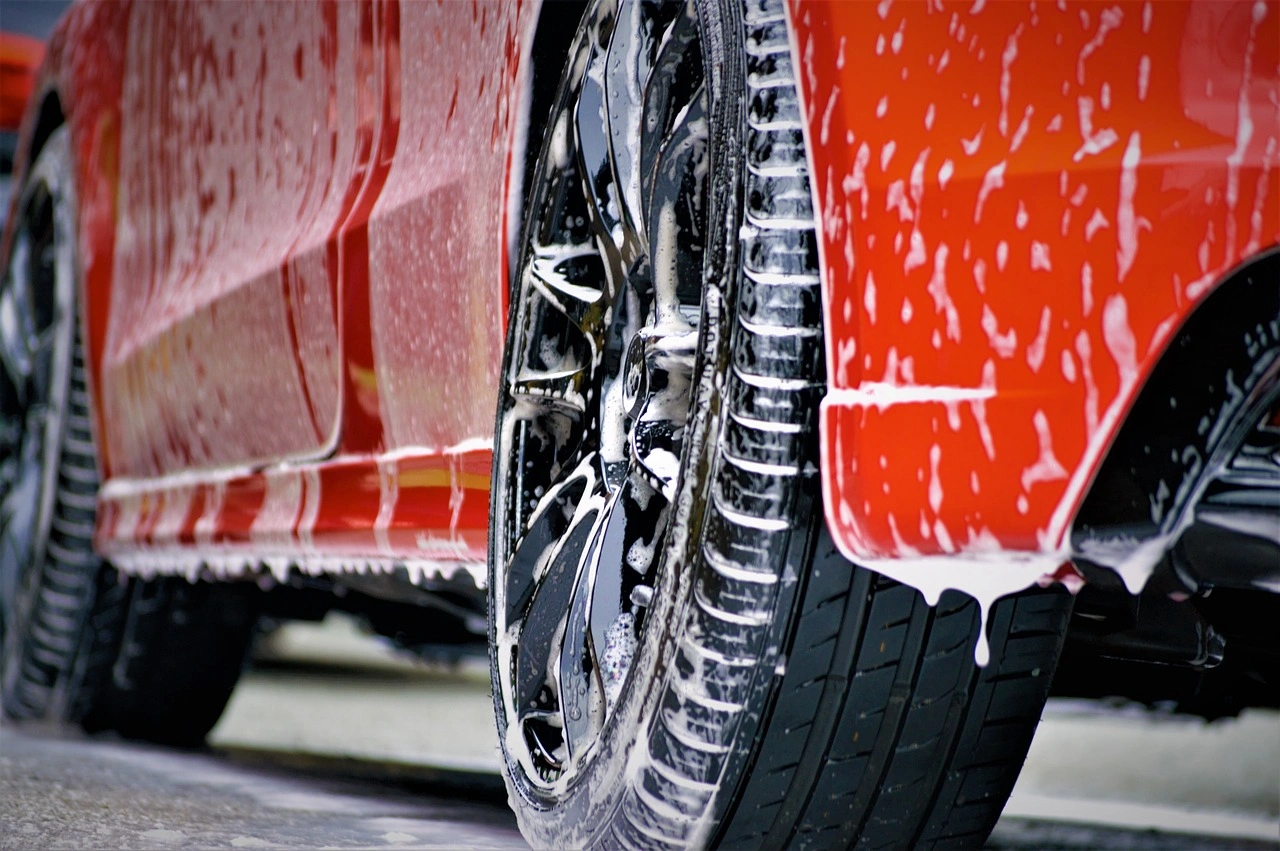
Step 2: Wheel and Tire Cleaning
- Always clean wheels and tires first to prevent splash-back onto clean panels
- Apply wheel cleaner and let sit according to product instructions (usually 1-3 minutes)
- Use wheel brushes to clean between spokes and brake components
- Clean tires with dedicated tire cleaner and stiff brush
- Rinse thoroughly before moving to the body
Step 3: Two-Bucket Washing Method
- Fill one bucket with soap solution and another with clean water
- Soak your wash mitt in the soap bucket, clean a section of the car
- Rinse the mitt in the clean water bucket before reloading with soap
- Always wash from top to bottom, typically in this order:
- Roof
- Windows and windshield
- Hood and trunk
- Upper panels (doors, fenders)
- Lower panels
- Rinse sections as you complete them to prevent soap from drying
Step 4: Clay Bar Treatment
- After washing, run your hand inside a plastic bag over the paint—if it feels rough, you need clay bar treatment
- Spray lubricant on a small section
- Gently glide clay bar back and forth until surface feels smooth
- Fold clay to expose clean surface after each section
- Work methodically around the entire vehicle
Step 5: Drying
- Use a clean microfiber drying towel or blow dryer designed for cars
- Pat dry rather than wipe to minimize swirl marks
- Pay special attention to crevices where water can hide
Step 6: Polish (Optional)
- If your paint shows minor scratches or has lost its luster, apply polish
- Work in small sections with a foam applicator or dual-action polisher
- Remove residue with a clean microfiber towel
Step 7: Protection
- Apply wax or sealant in thin, even coats
- Work in small sections, allow to haze, then buff with clean microfiber towel
- Modern synthetic sealants can last 6-12 months, while traditional carnauba waxes typically last 1-3 months
Step 8: Glass Cleaning
- Use ammonia-free automotive glass cleaner
- Clean with horizontal strokes on exterior, vertical on interior to identify which side streaks are on
- Don’t forget the tops of windows that are partially hidden by door frames
Step 9: Trim and Tire Dressing
- Apply tire dressing with foam applicator
- Dress exterior plastic and rubber trim with appropriate protectant
- Allow to dry before driving to prevent sling onto paint
Interior Detailing Process
Step 1: Remove and Organize
- Take out floor mats, trash, personal items and removable accessories
- Clean floor mats separately and allow to dry completely
Step 2: Vacuum Thoroughly
- Start with larger debris pickup
- Work from top to bottom: headliner, dashboard, seats, and finally floors
- Use crevice tools for tight spaces between and under seats
- Compressed air can help dislodge dust from vents and tiny crevices
Step 3: Clean Surfaces
- Use appropriate cleaners for each surface (dashboard, door panels, console)
- For plastic and vinyl: Apply cleaner to microfiber cloth, not directly on surfaces
- For leather: Use dedicated leather cleaner followed by conditioner
- For fabric: Use upholstery cleaner with soft brush for agitation
Step 4: Detail Work
- Clean air vents with detailing brush or foam swab
- Address buttons and controls with detailing brush and minimal moisture
- Clean cup holders and storage compartments
- Treat leather surfaces with conditioner to prevent cracking
Step 5: Glass Cleaning
- Clean all interior glass and mirrors
- Pay special attention to the inside of the windshield where film often builds up
- For stubborn windshield film, use a glass-specific cleaner with microfiber
Step 6: Final Touches
- Apply fabric protector to cloth surfaces if desired
- Return floor mats only when completely dry
- Consider an air freshener that matches your preferences
Professional Tips for Better Results
- Work in the shade: Direct sunlight causes products to dry too quickly and can cause water spots
- Change microfiber towels frequently: A dirty towel can cause scratches
- Take your time: Quality detailing can’t be rushed—expect to spend 3-5 hours for a thorough job
- Maintain regularly: A quick maintenance wash every 1-2 weeks makes deep cleaning easier
- Detail seasonally: Perform a complete detail at least four times a year, adjusting protection based on weather conditions
Common Mistakes to Avoid
- Using dish soap (too harsh for automotive paint)
- Washing in circular motions (can create swirl marks)
- Working in direct sunlight
- Using the same cloth for multiple purposes
- Applying too much product
- Neglecting regular maintenance
With practice, your home detailing skills will improve, and you’ll develop a routine that works for your specific vehicle. The investment in quality supplies pays off over time, and there’s a genuine satisfaction in transforming your car with your own hands. Plus, regular detailing helps preserve your vehicle’s value and appearance for years to come.